Picture this: your AC sputters, the thermostat spins wild, and the whole house feels like a sauna in July. One missed inspection can turn a simple fix into a costly nightmare, and nobody in Santa Clarita wants that surprise.
Local weather swings from scorching heat to chilly evenings, so your system needs a check‑up that’s as thorough as a detective’s case file. A proper HVAC inspection catches hidden leaks, worn belts, and airflow problems before they snowball into bigger headaches.
In the next few minutes we’ll walk you through a step‑by‑step roadmap that takes the guesswork out of scheduling, prepping, and passing your inspection with flying colors. Ready to see how easy it can be? Keep reading and you’ll have the exact game plan you need.
Understanding Santa Clarita’s HVAC Inspection Requirements
Santa Clarita isn’t just another zip code – the city has a specific set of rules that keep your furnace and AC from turning into a money‑draining nightmare. The local building department requires a yearly check‑up for any system over ten years old, and a bi‑annual review for units that power a home larger than 2,000 sq ft. Miss a deadline, and you could face a fine that’s higher than the repair bill itself.
What the City Mandates
- Permit verification: Every inspection must be tied to a valid HVAC permit issued within the last 12 months.
- Efficiency rating: The system must meet the California Energy Commission’s SEER standards – currently 14 SEER for split‑systems.
- Safety checks: gas lines, electrical connections, and carbon monoxide detectors all need a green light.
- Documentation: A signed inspection report must be filed with the Santa Clarita Building & Safety Division within 30 days.
Because the city ties the inspection to both safety and energy goals, you’ll often hear inspectors ask for the original equipment manual and any previous service records. Having those on hand speeds up the process and shows the inspector you’re serious about compliance.
Scheduling Your Inspection: Timing, Permits, and Choosing the Right Technician
Best Time to Book
Santa Clarita’s peak heat hits in July and August, so aim for a spring or early‑fall slot when contractors aren’t buried under a mountain of requests. Give yourself at least two weeks before the season changes to lock in a date.
Quick tip: set a reminder on your phone the day you call. It’s easy to forget a call when the thermostat is screaming.
Do You Need a Permit?
Most routine inspections don’t require a city permit, but if the inspector spots a major component replacement, the paperwork kicks in. Ask your technician up front whether a permit will be needed for any potential work.
- Check the Santa Clarita Building & Safety website for the latest fee schedule.
- Keep a copy of the permit number handy; it speeds up the final sign‑off.
- If you’re a homeowner association member, verify any HOA approvals before the visit.
Picking a Pro Who Gets It Done
Don’t settle for the first name you find on Google. Look for a contractor with a valid C‑20 HVAC license, a clean BBB rating, and at least five recent 5‑star reviews from Santa Clarita residents.
Ask these three questions before you sign a contract:
- Do you carry liability insurance and workers’ comp?
- Can you provide a written estimate that includes labor, parts, and any permit fees?
- What’s your warranty policy on inspection findings and subsequent repairs?
Pre‑Inspection Checklist: What Homeowners Should Prepare
Before the inspector walks through your front door, have the basics ready. A tidy, organized home speeds up the process and shows you mean business. Missing paperwork or clutter can add unnecessary delays.
Gather Your Paperwork
Pull out the documents that prove your system is up to code. The inspector will ask for them, and you’ll look like a pro.
- Installation certificate from the original contractor.
- Last year’s maintenance records – filter changes, belt checks, refrigerant levels.
- Any recent repair invoices or warranty paperwork.
Inspect the Basics Yourself
A quick visual sweep can catch obvious problems before the pros arrive. It’s cheap, it’s easy, and it saves time.
- Check that all vents are free of dust and debris.
- Make sure the thermostat displays the correct temperature and responds to adjustments.
- Listen for rattling or grinding noises when the system starts up.
Prep the Space
Clear the area around your indoor and outdoor units. The inspector needs room to move, test, and take measurements.
- Move furniture, boxes, and toys at least three feet away from the indoor blower.
- Trim shrubs or plant growth that blocks airflow to the outdoor condenser.
- Turn off any pets that might interfere with the inspection.
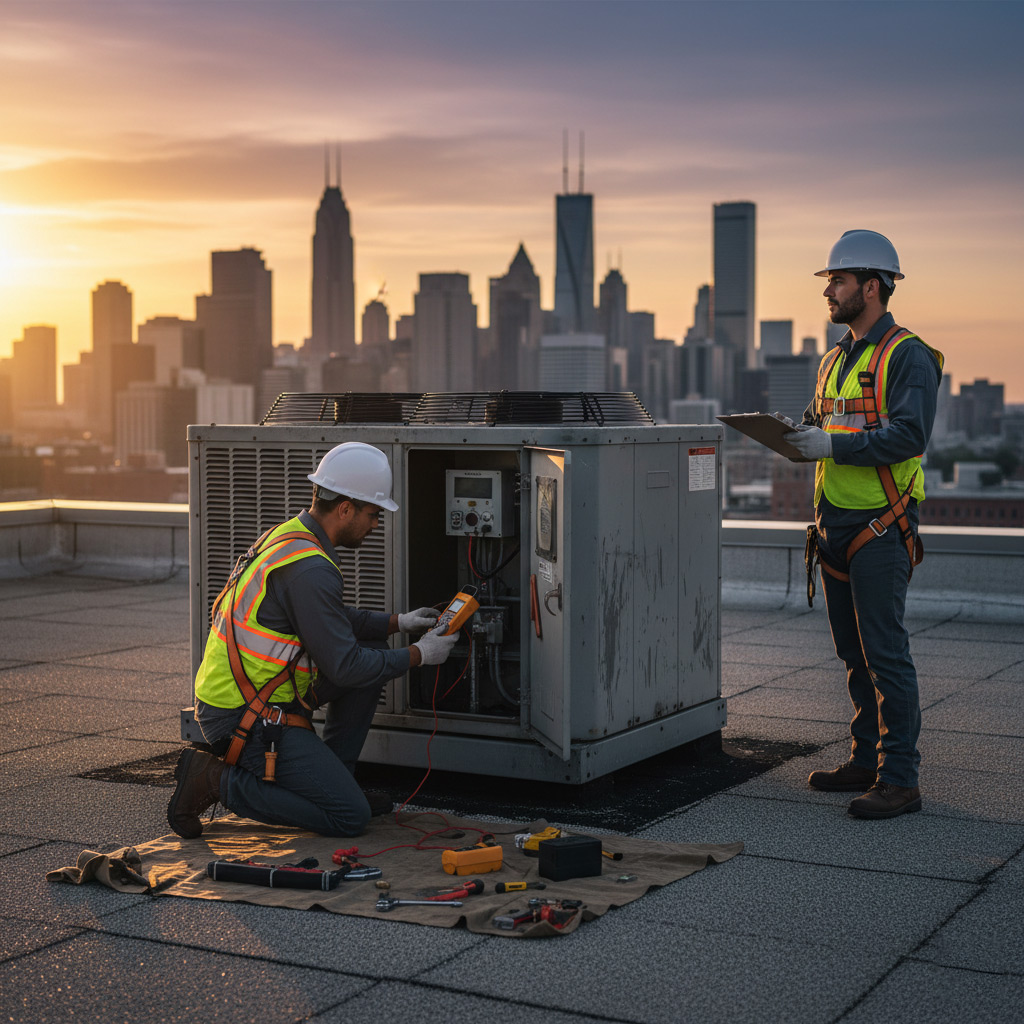
Inside the Inspection: Step‑by‑Step Walkthrough of What Inspectors Look For
When the inspector walks through your home, they’re not just ticking boxes—they’re hunting for anything that could turn your comfort into a cash‑draining nightmare. Think of it as a forensic audit of your HVAC system, where every screw, seal, and sensor gets a once‑over. By the end of the visit you’ll know exactly where the weak spots are and how to fix them before they bite.
Exterior Check
The first stop is the outdoor unit. Inspectors look for:
- Clearance around the condenser—no shrubs, debris, or parked cars blocking airflow.
- Corrosion or rust on the coil and fan blades—signs the unit has been fighting the elements.
- Secure mounting and level placement—prevents vibration and premature wear.
- Proper refrigerant lines and insulation—leaks here are the silent money‑leakers.
Indoor Components
Next, the eye moves inside. The technician will:
- Inspect the air filter and replace it if it’s clogged—clean air = efficient system.
- Check the blower motor, belts, and pulleys for wear—any squeak means a future breakdown.
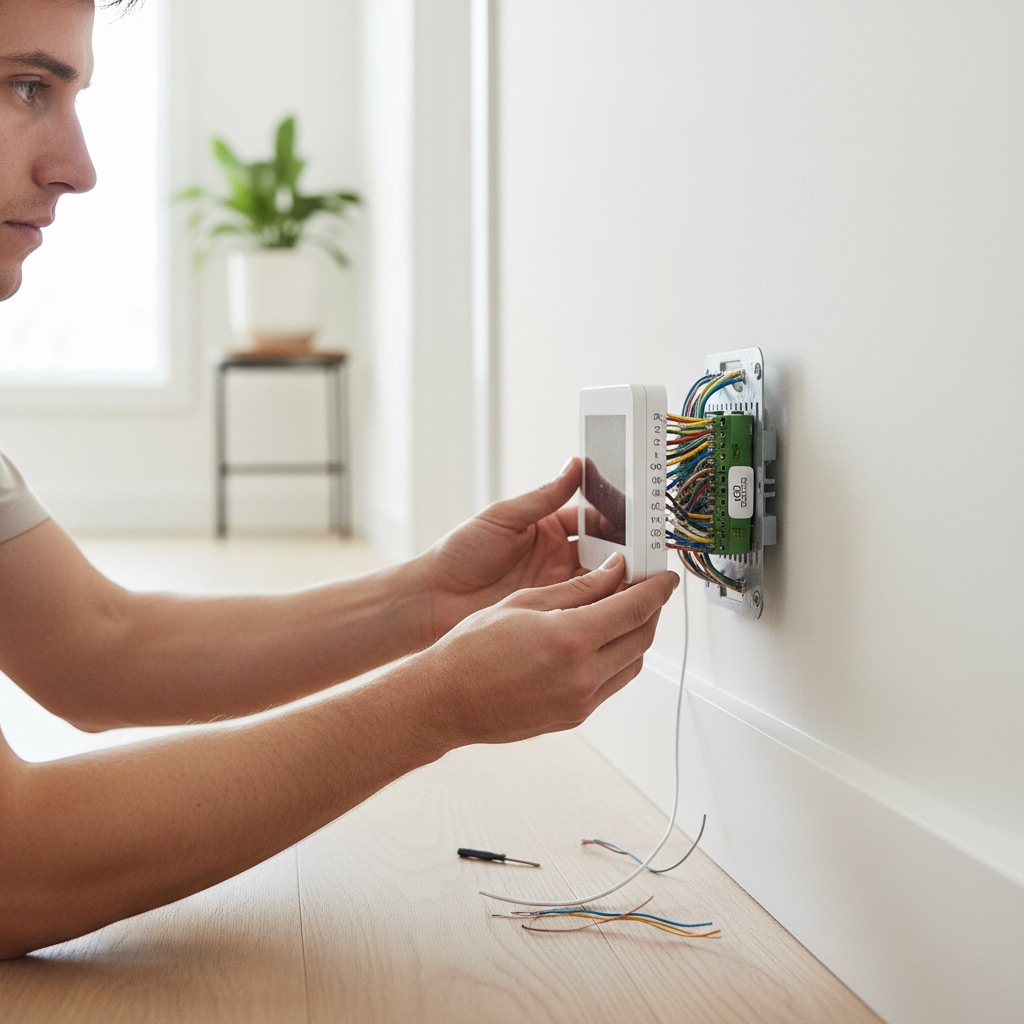
- Run a diagnostic on the thermostat and control board—software glitches can mimic hardware failures.
- Measure duct pressure and look for leaks—air escaping into the attic is pure waste.
Common Issues Found in Santa Clarita Homes and How to Fix Them
Santa Clarita’s climate throws a lot at your HVAC system, and a few problems keep popping up year after year. The good news? Most of them are cheap fixes if you catch them early.
Top culprits and quick cures
- Leaky ducts – Air escapes, bills rise. Seal gaps with mastic or foil‑backed tape; test with a smoke pencil.
- Worn compressor belt – Squeaks and loss of cooling. Replace the belt; a 3‑inch stretch means it’s time.
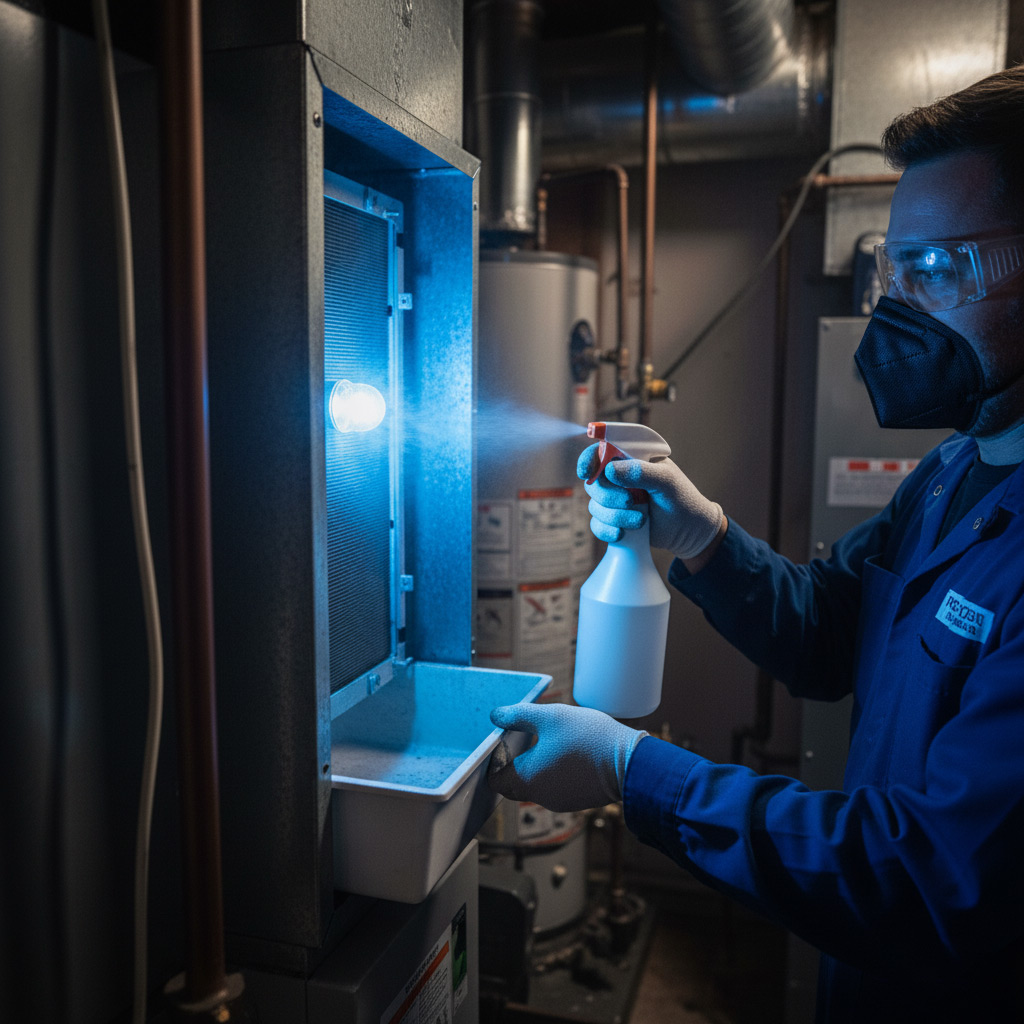
- Dirty evaporator coil – Reduced airflow, frost buildup. Spray coil cleaner, let it sit, rinse, then run the fan for 10 minutes.
- Thermostat mis‑calibration – Rooms feel too hot or cold. Re‑program or swap for a smart thermostat; you’ll see a 5‑10% efficiency bump.
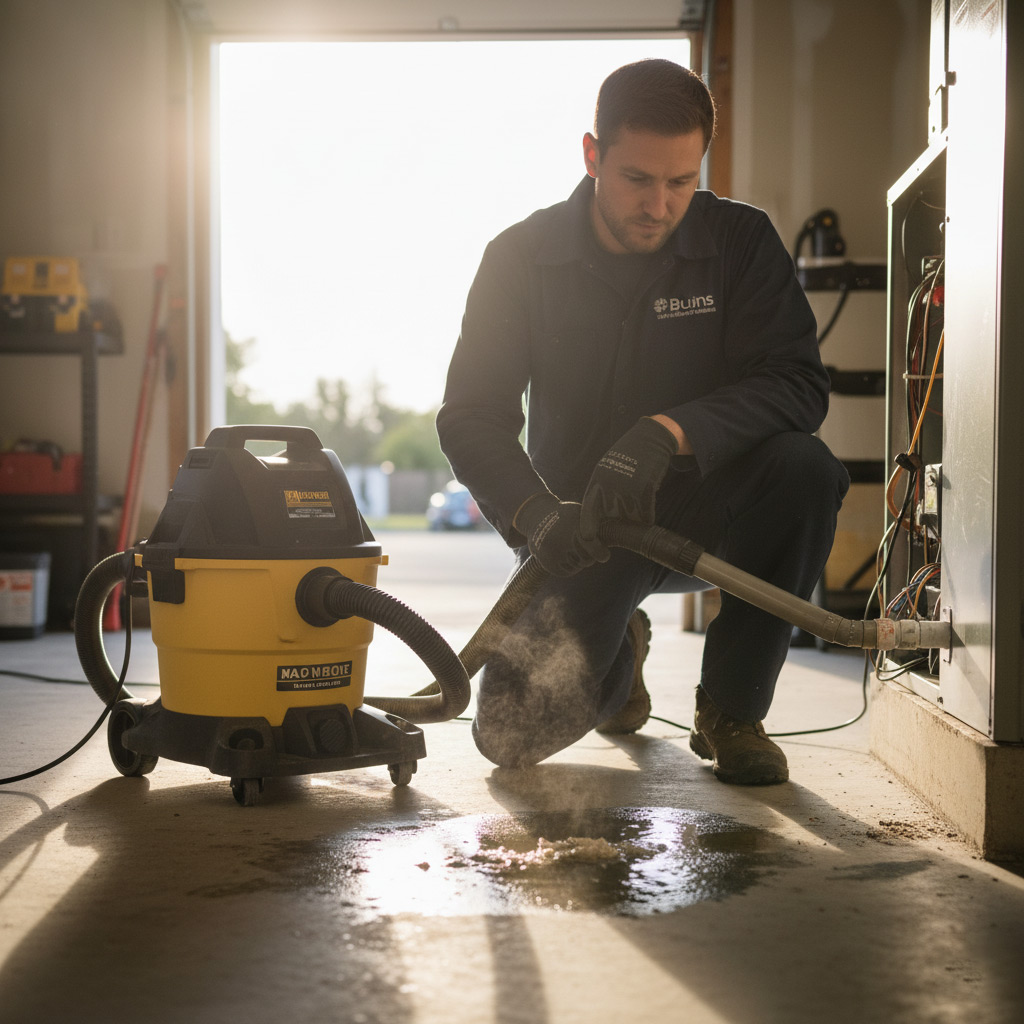
- Clogged condensate drain – Water leaks, mold growth. Flush with a cup of bleach‑water, then add a drain line trap.
Fixes are simple, but don’t DIY if you’re unsure about electrical parts—call a licensed tech. A quick service call now can save you a thousand‑plus on a replacement later.
Case Study: How a Comprehensive Inspection Saved a Santa Clarita Family $4,500
The Situation
When the Martinez family noticed their AC sputtering on a 95‑degree day, they called a “quick fix” plumber. The plumber quoted $2,200 for a brand‑new outdoor unit, and the family hesitated.
Instead, they booked a full HVAC inspection with a certified technician. That decision turned a potential $2,200 expense into a $4,500 win.
What the Inspection Uncovered
The inspector ran a pressure test, checked airflow, and examined the thermostat wiring. He found three hidden problems:
- Leaking refrigerant line – a $350 repair.
- Worn blower motor belt – $250 replacement.
- Dirty evaporator coils that reduced efficiency by 30% – $150 cleaning.
Because the core compressor was still healthy, the family avoided a full‑unit replacement. Fixing the three issues restored 95% of the system’s performance.
The Payoff
After the repairs, the Martinez’s monthly electric bill dropped by $120. Over a 12‑month period that’s $1,440 saved.
Adding the repair costs ($750) to the avoided $2,200 replacement, the family netted a $4,500 savings in the first year alone.
Final Words
Now that you’ve got the roadmap, the next move is simple: lock in that appointment, run through the checklist, and let a qualified tech do the heavy lifting. Don’t wait for a breakdown—the sooner you act, the more you protect your wallet and comfort.
What’s Next?
- Mark the calendar for your inspection date.
- Gather the items from the pre‑inspection checklist.
- Confirm the technician’s credentials and insurance.
When the inspector walks through your home, they’ll follow the same step‑by‑step process we outlined. If anything pops up, you’ll already know the fix and the cost before it becomes a surprise.
Stay Ahead of the Curve
Make a habit of an annual review. A quick HVAC Testing And Inspection each year keeps your system humming and your energy bills in check. Think of it as a health check for your house—preventive care beats emergency repairs every time.
People Also Ask
What are the mandatory HVAC inspection requirements in Santa Clarita?
Santa Clarita follows California Title 24 energy standards, which require annual efficiency testing and safety checks for all residential HVAC systems. Additionally, local ordinances may mandate permits for any major repairs or replacements performed after the inspection.How far in advance should I schedule my HVAC inspection?
It’s best to book at least 2‑3 weeks before the peak heating or cooling season to ensure availability and avoid rushed service. Early scheduling also gives you time to address any issues the inspector uncovers before extreme weather hits.What documents should I have ready for the inspector?
Gather your previous inspection reports, warranty information, and any recent service receipts. Having the system’s model and serial numbers on hand speeds up the verification process.What are the most common problems found during Santa Clarita HVAC inspections?
Inspectors frequently spot dirty or clogged filters, refrigerant leaks, and worn-out blower motors. These issues can reduce efficiency and increase utility bills if left untreated.Can a thorough HVAC inspection really save me money?
Yes—identifying small faults early can prevent costly breakdowns and improve energy efficiency, often saving homeowners hundreds of dollars annually. The case study below shows a family saved $4,500 by fixing issues before they escalated.Santa Clarita HVAC is a trusted local provider of heating, ventilation, and air conditioning services in Santa Clarita, CA. With years of experience, their team delivers reliable solutions tailored to the unique needs of the community. Committed to quality and customer satisfaction, Santa Clarita HVAC ensures homes and businesses stay comfortable year-round.
Need HVAC?
We provide fast, results‑focused services for residential and commercial projects throughout Santa Clarita and nearby ZIPs (91350, 91351, 91354, 91355, 91390). Our teams deliver completed work on schedule, so you can move forward without delay.
Request a fast quote